Steps before launching EC2 F1 Instance
- Log in to Management Console
- Go to EC2
- Create Security Group
- Add rules to Security Group
- Creating a Keypair
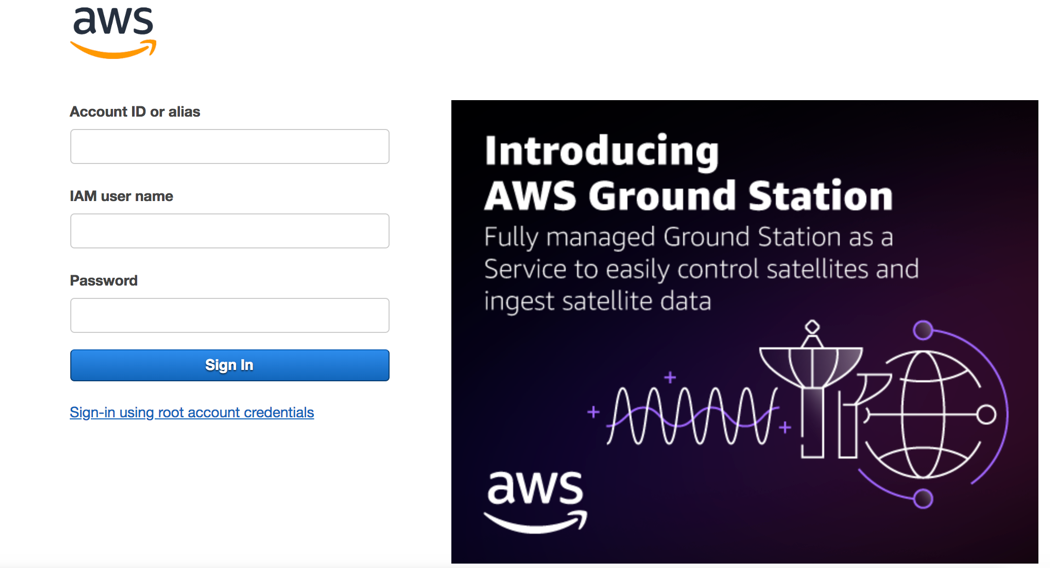
Log in to Management Console
Depending on your workshop, you may access the AWS Management Console through direct sign-in (here) or as directed by your trainer. To sign in, enter your AWS Account ID or alias, IAM user name, and password that was provided to you for this lab (or your own credentials when using your own AWS account)
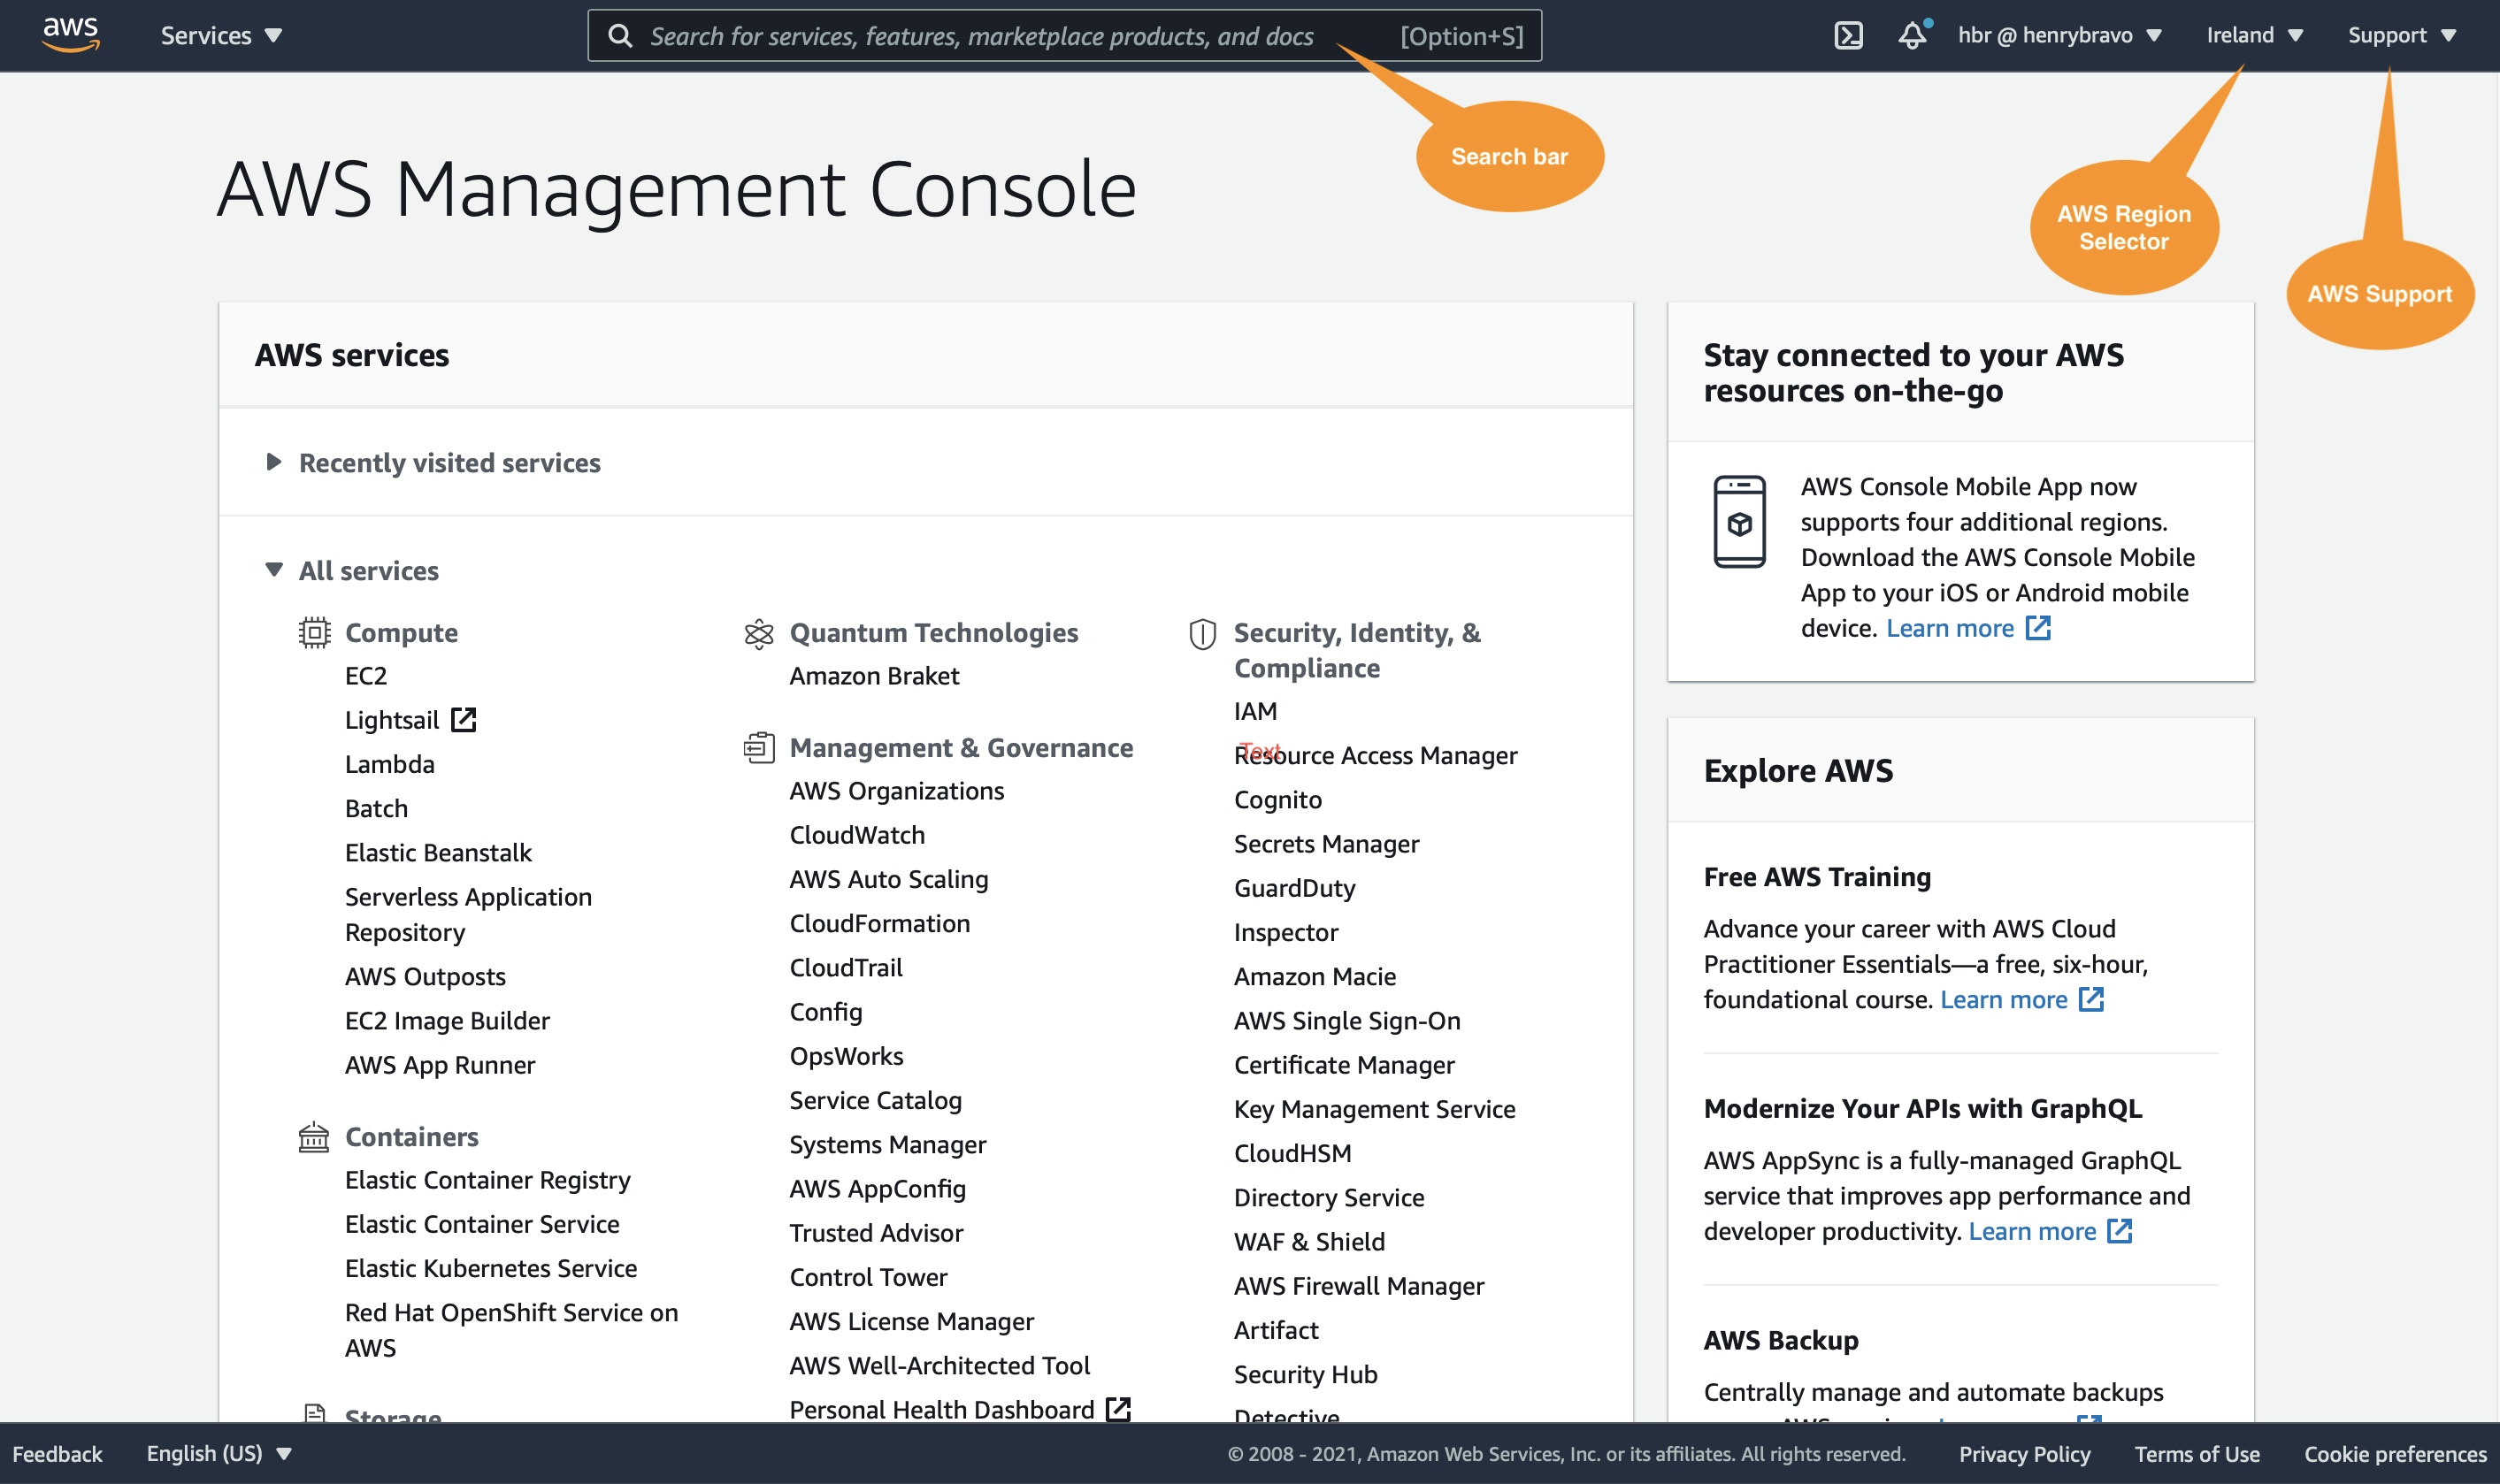
After you sign in, take a few minutes to explore the navigation components of the AWS Management Console.
- A search bar allows you to quickly locate services based on text.
- Recently visited services are located below the search bar.
- In the toolbar, the Services drop-down menu populates a list of all services.
- The Support drop-down menu includes links to support and documentation.
- The Region drop-down menu allows you to select a specific AWS Region.
Start this workshop by selecting an AWS Region:
Choose the Region drop-down menu, then choose US East 1 (N. Virginia) us-east-1 or EU West 1 (Ireland) eu-west-1. The region that is closest to your location.
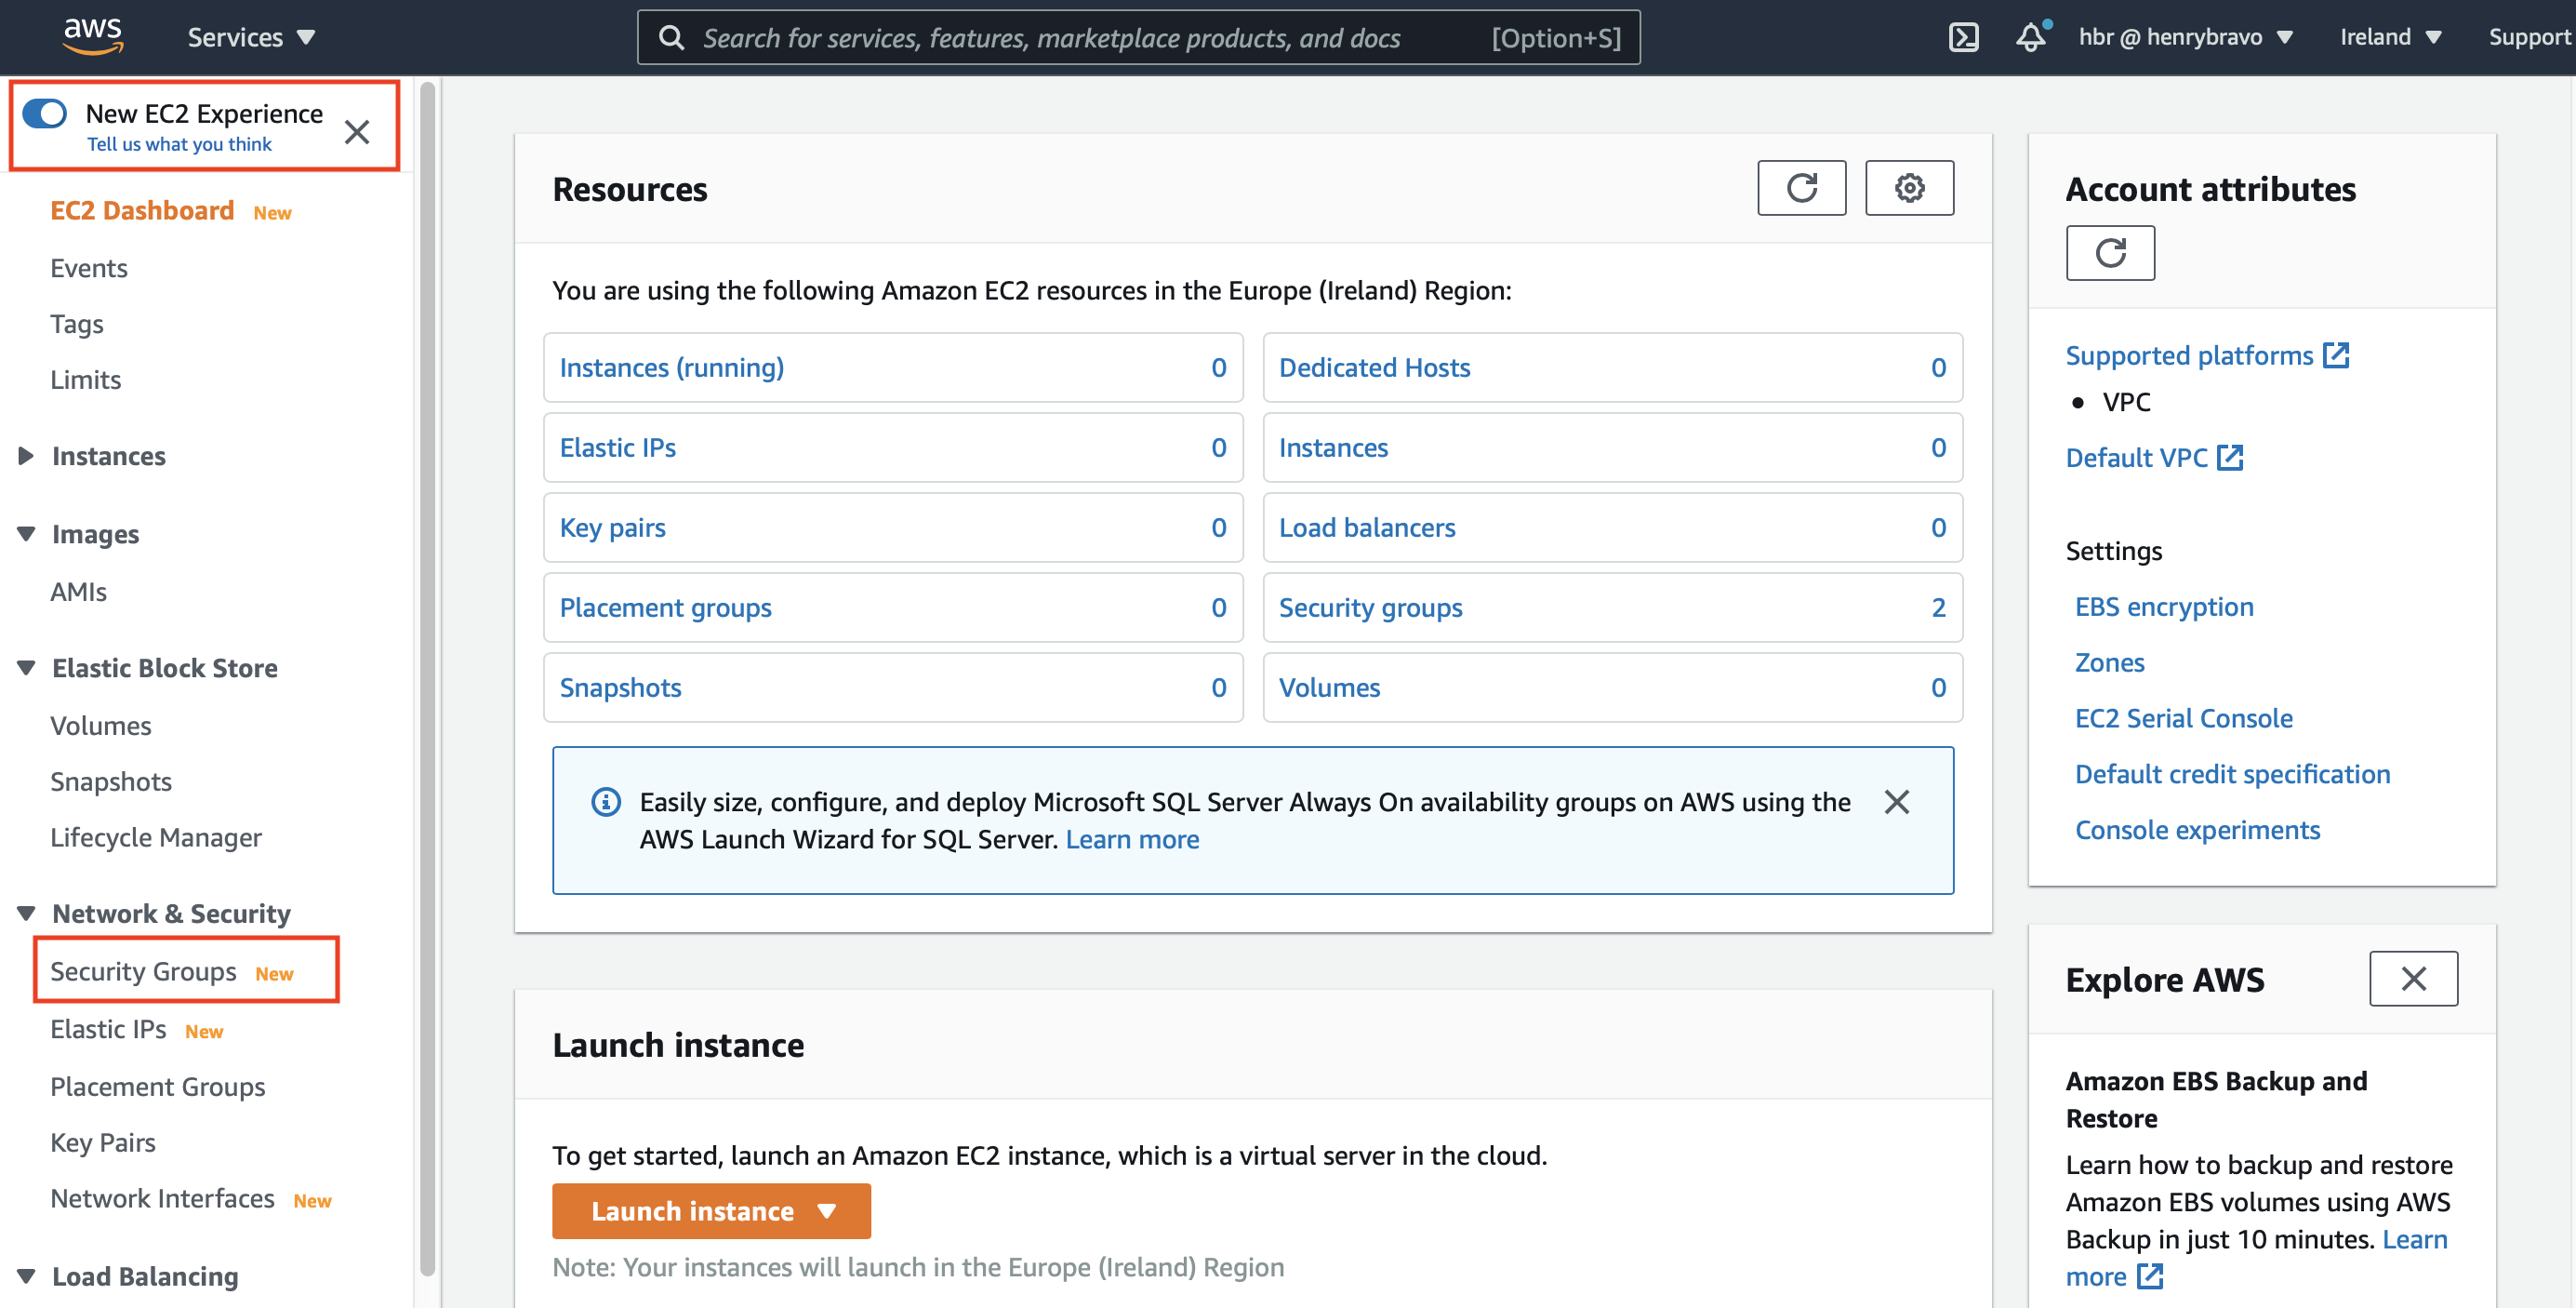
Go to EC2
Step 1. Click “All Services” to expand “EC2” is in the Computing category
Step 2. Select EC2 service from the AWS services list screen
Step 3. Go to EC2

Create Security Group
Step 1. In EC2 go to “Security Groups”
Step 2. Click on “Create a Security Group” button on upper right corner
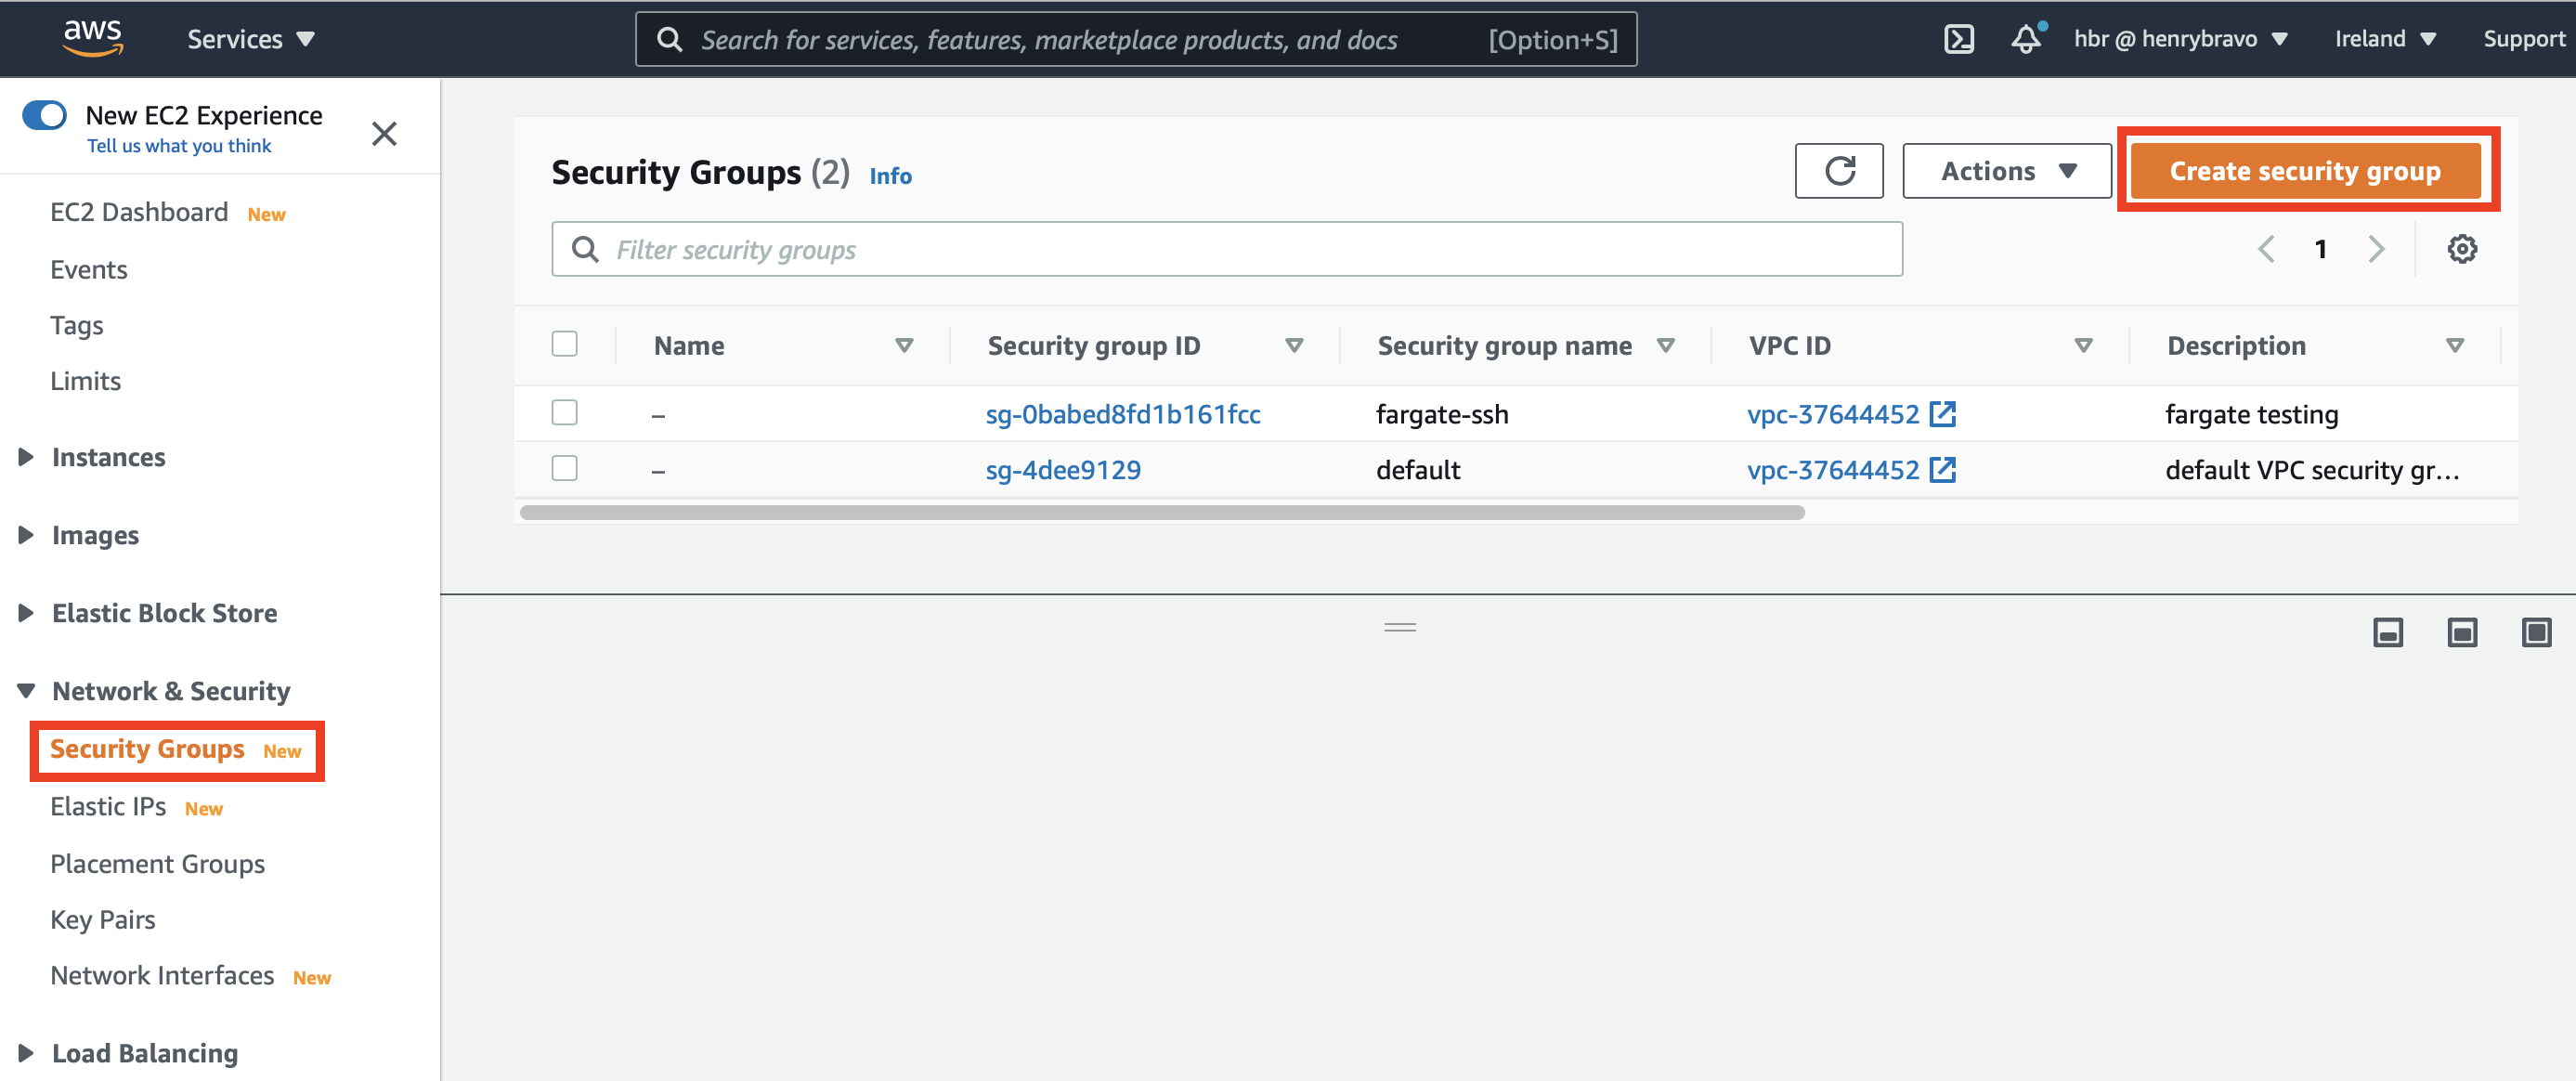
Step 3. Add basic details, in example:
-
Security group name: “f1workshop_sg”
-
Description: “f1workshop_sg”
-
VPC: keep default VPC unless else is instructed by AWS

Add rules to Security Group
Edit the rules in the Security Group setting “Inbound”. Add the following three rules
Step 1. Type: SSH (Port range: 22) - Source: Anywhere
Step 2. Type: RDP (Port Range: 3389) - Source: Anywhere
Step 3. Type: Custom TCP Rule Port Range: 8443 - Source: Anywhere - This port is used to launch a GUI environment that uses NICE-DCV
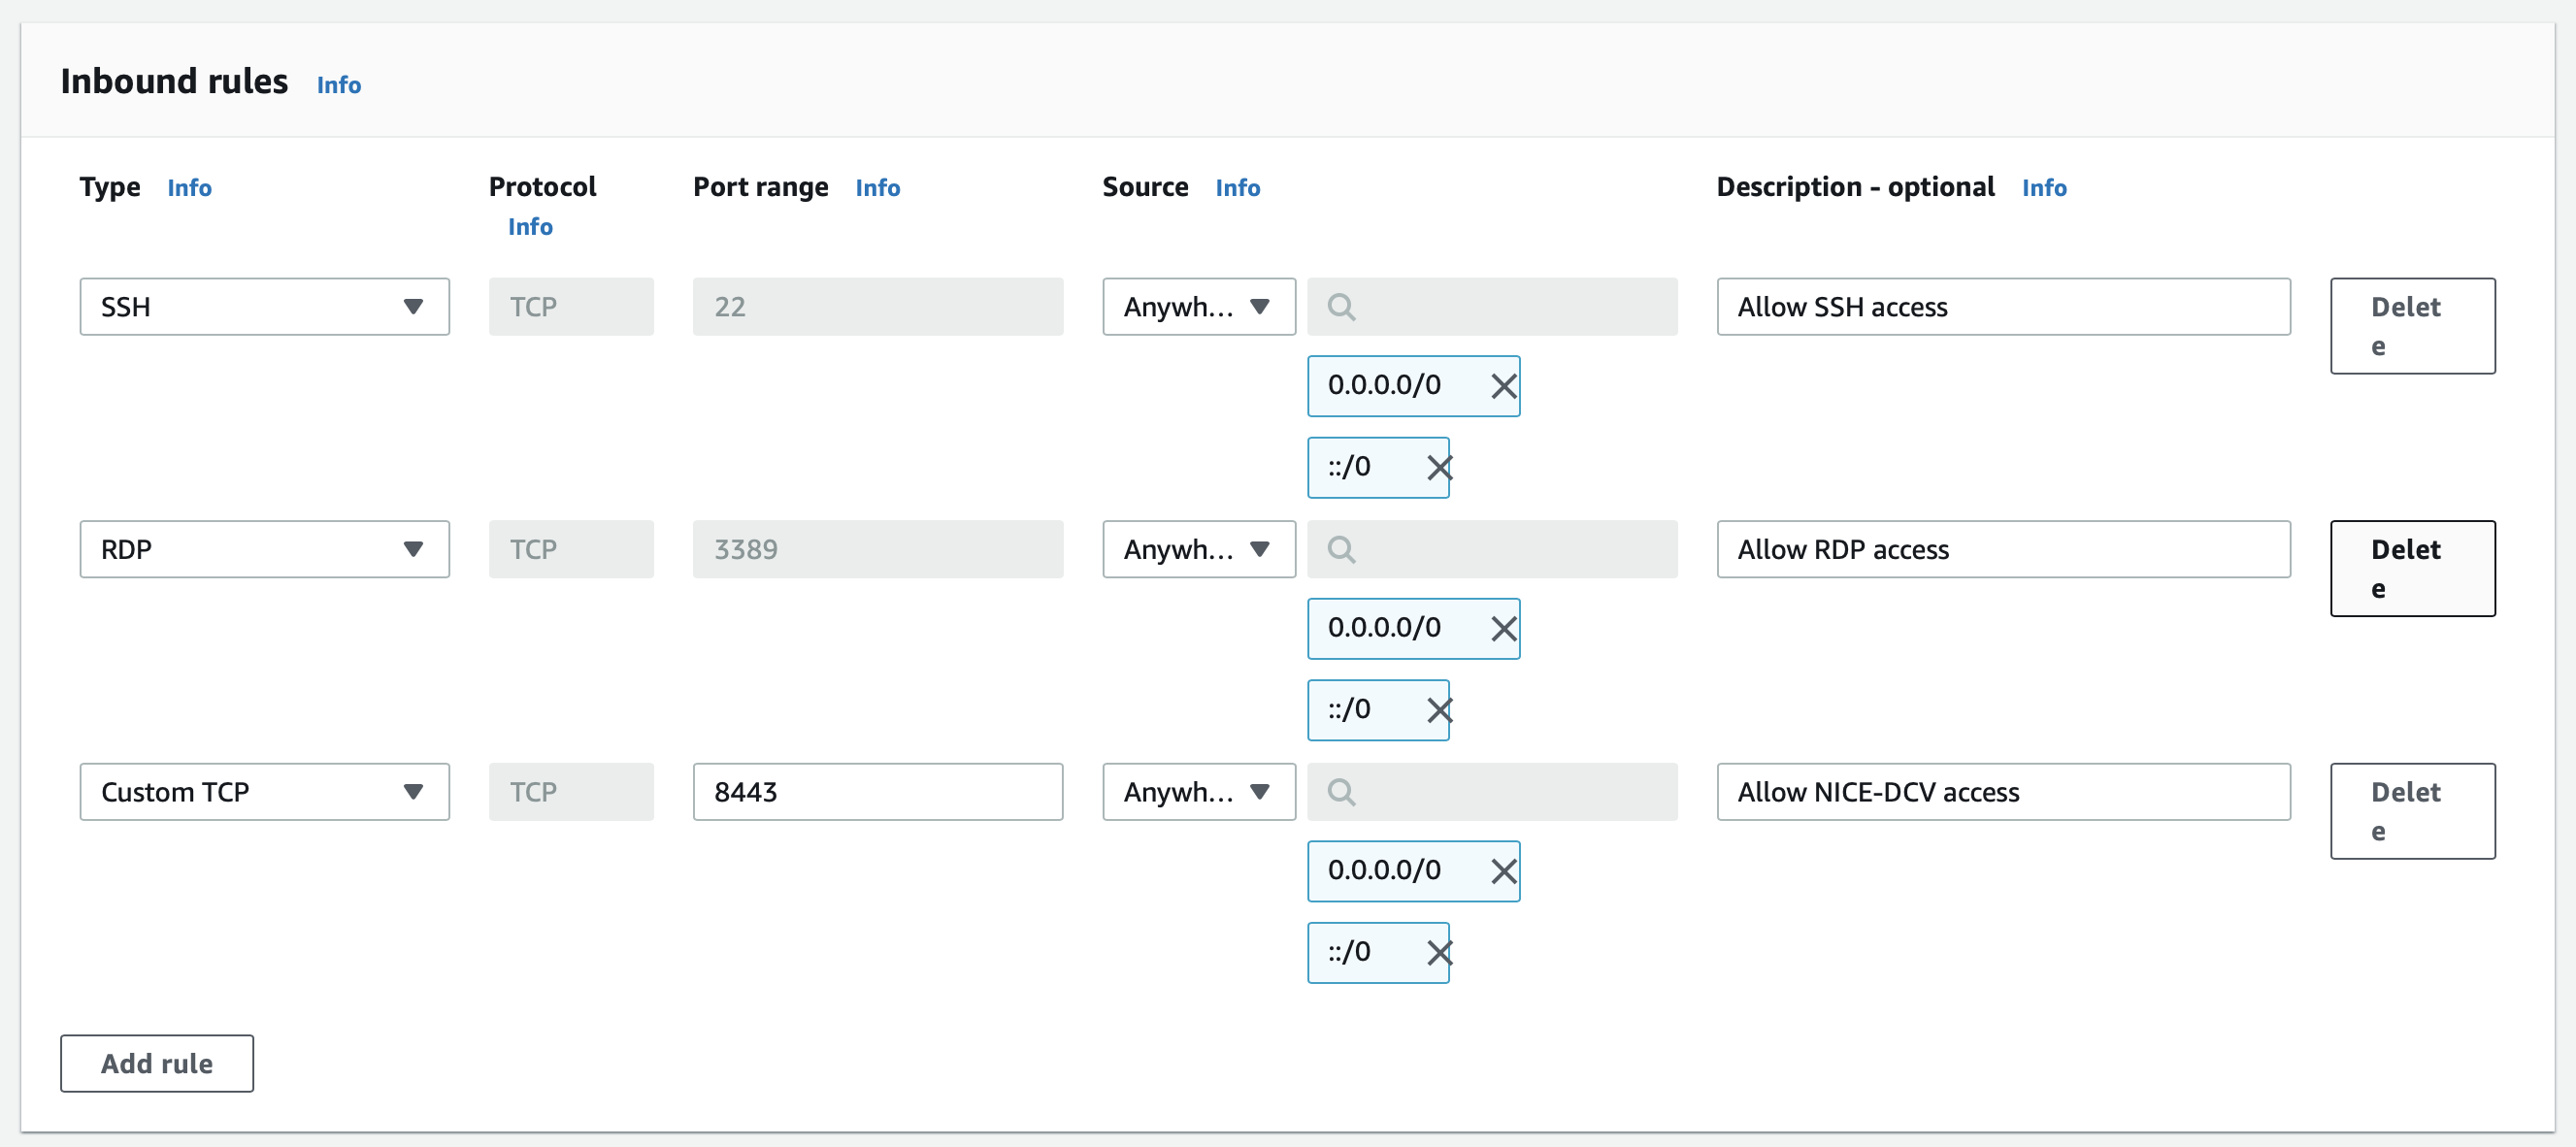
For simplifying the workshop experience we allow to connect from Anywhere in the Security Group rules we have just defined. For real live production scenarios it is recommended to tighten the ruleset to allow ip addressess from trusted ip ranges whenever possible!
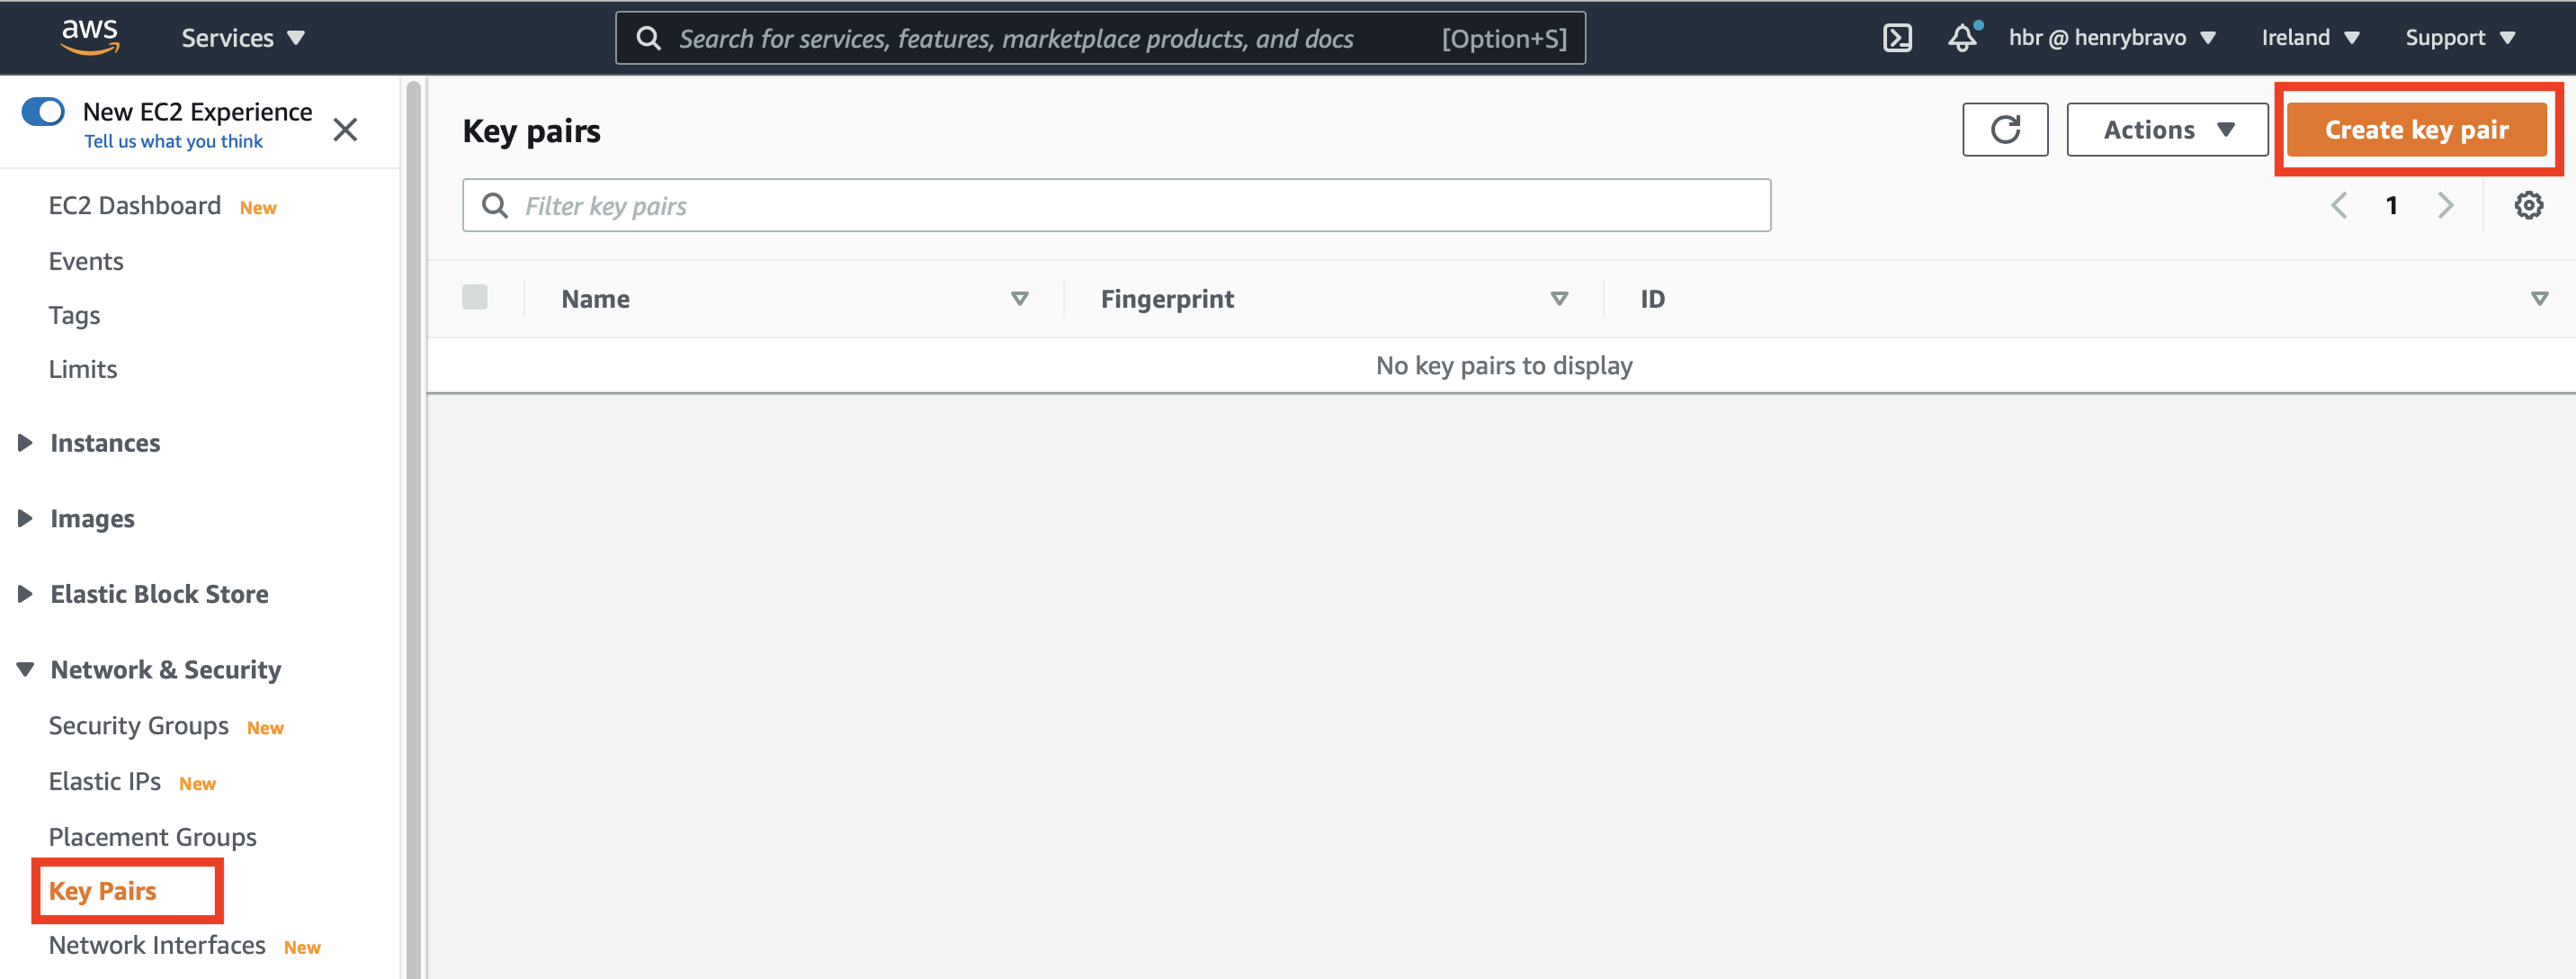
Creating a Keypair
Go to Key Pairs by selecting the Key Pairs menu on the EC2 menu on the left side of the webconsole and click on “Create key pair” button on the upper right.
The private key name is an arbitrary alphanumeric string (here we give the name of “f1workshop-key” as an example). When you create a key pair, the private key will be downloaded, so save it to your PC.
